Cyberdeck IV: A New Hope
Wherein progress slows due to things


Slightly over a fortnight since the last update but then we've had Christmas and all that. Also the progress hasn't been huge thanks to Christmas stresses and trying to finish paying work, but I can still do an update-me-do with what I've worked on. Just little bits really, nothing particularly ground breaking, but there we go.
Screen protection
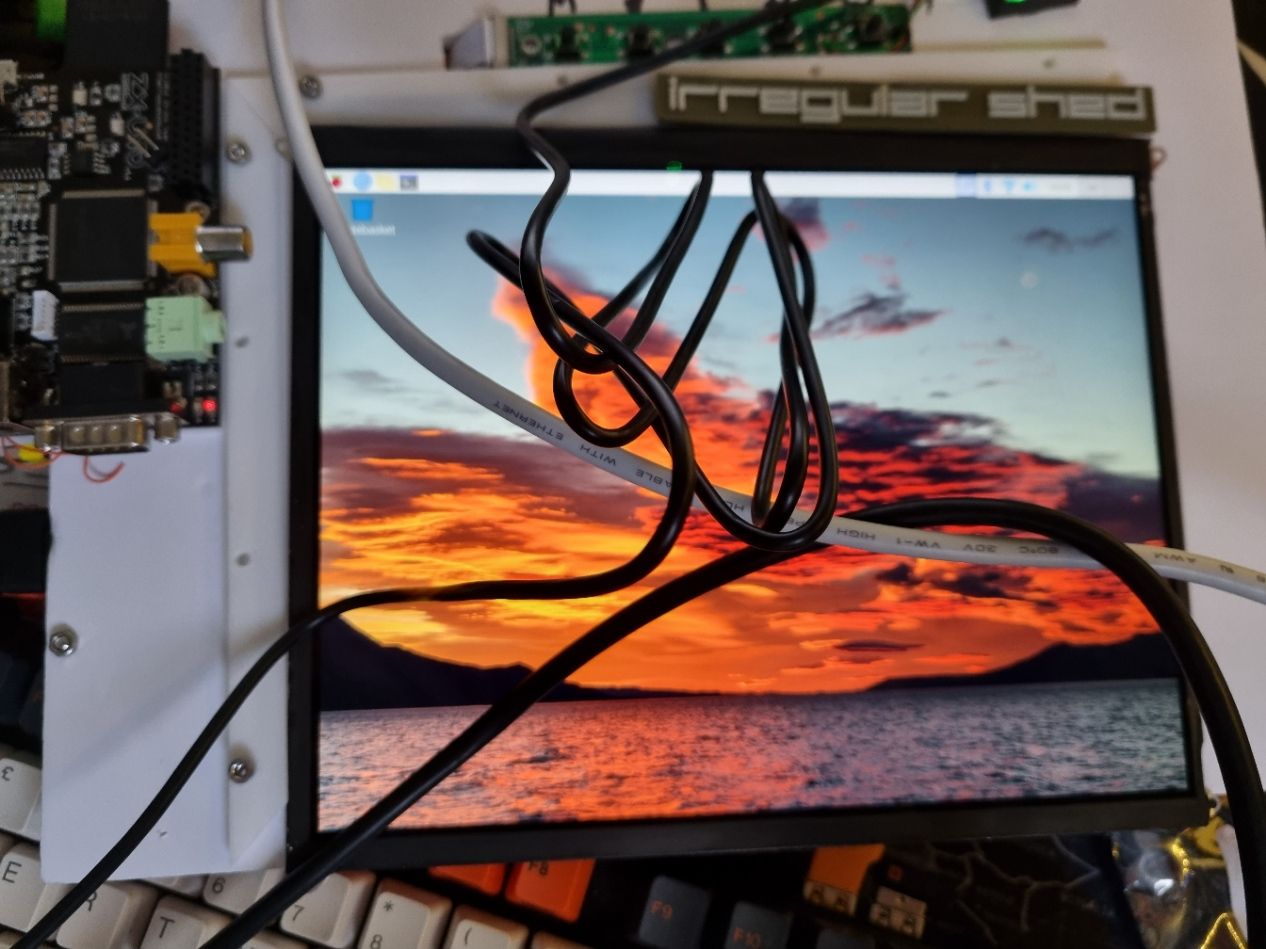
The screen I'm using would normally be behind the glass digitiser on an iPad, but with this being a bare unit it feels a little too fragile to have without something to protect it. My initial idea was to use a tempered glass iPad screen protector, which would've been a little too big but I thought it was worth a go. It was a failure though. (F in the chat.) The adhesive on the glass worked fine but around the edges of the screen there's a fraction of a millimetre difference in thickness, and this meant that those edges didn't take, and tiny bubbles refused to disperse. On top of that, it was obviously too big as the screen doesn't have the bezel and home button that an iPad comes with; talented, patient people have managed to resize tempered glass protectors with talent and patience and diamond files, but I only have the files (as the shards in the bin can testify). Something different would be in order, and so I started my research.
I was still clinging on to the idea of having tempered glass but, where my iPad protectors were two for £4, to get a custom machined one would be £15 plus shipping. Ideal for 'proper' projects, but I'm just messing about and didn't fancy shelling out on something that might still not work well for me even after the machining. I did, however, think to have a look around at other screen protector materials, and managed to find 1mm thick transparent PETG sheet for £2.50 and it looks like it'll be the ideal substance - easy to work with and providing plenty of protection. There's no adhesive to worry about either, and I can hold it in place in front of the screen with the printed bezel.
Power
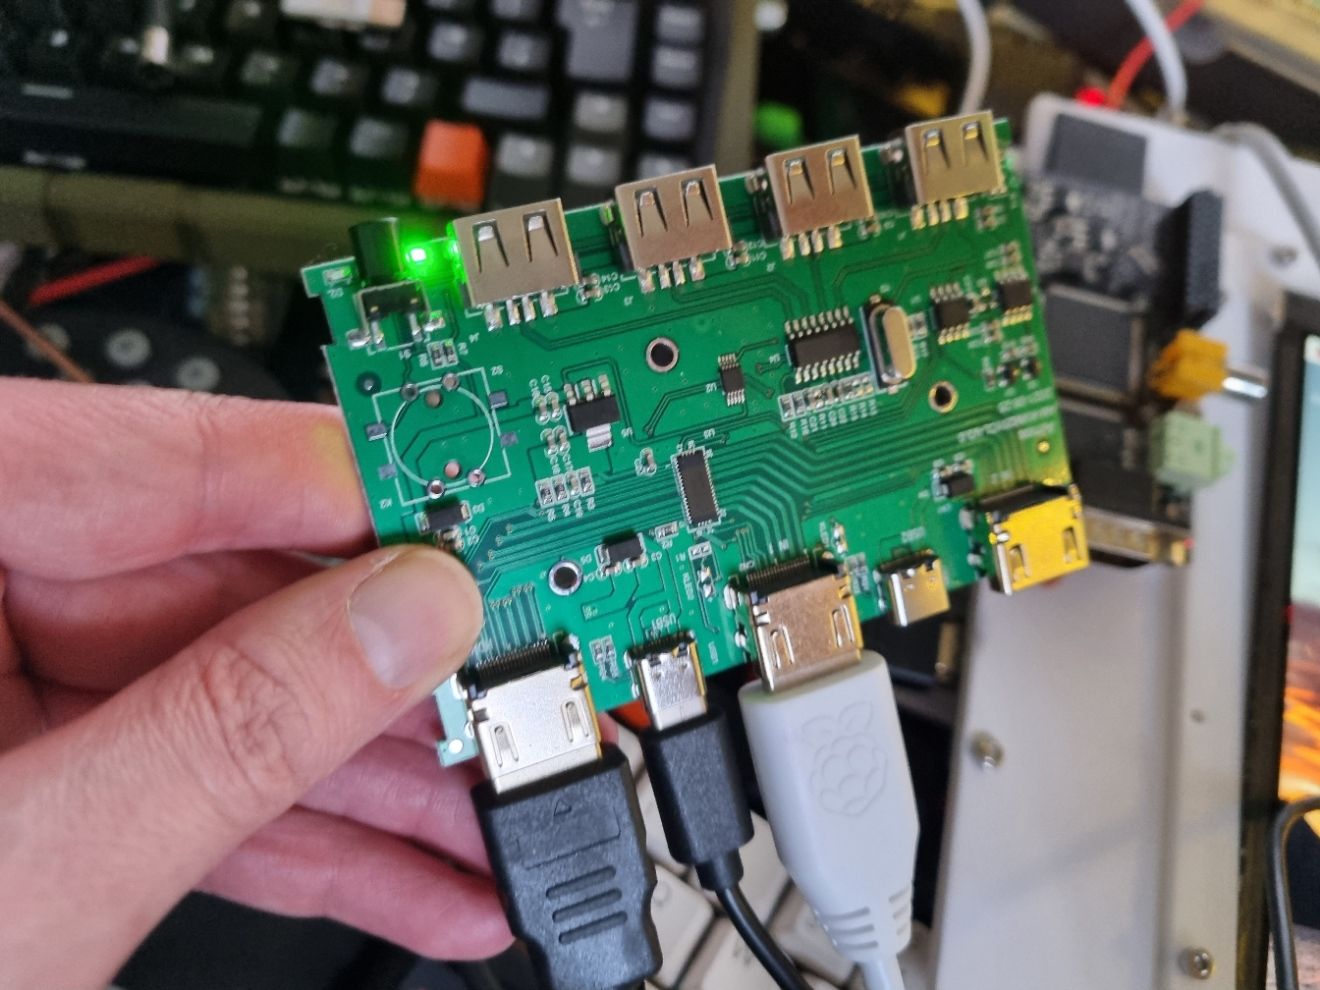
I'm looking at two distinct power sources for the build - a 12V DC supply and a 5V USB powerbank - each with circuitry to provide the other voltage, because the screen is 12V (as is the thermal printer I'm still toying with including) while the various other electronics are 5V. I have a little boost circuit for creating the 12V, as the screen isn't particularly power hungry, but the Pi 4 wants a few amps to be happy. I settled on a module designed for automotive setups, capable of handling 25W which should be plenty for the Pi, ZX Uno, audio amp and the support odds and ends.
Multiple inputs
I'd toyed with including a three-way HDMI switch box when I thought I'd be able to get my LattePanda board running with all this, so I'd be able to also have an HDMI input on the outside for bits and pieces. The spare switcher I have maxes out at 1080p though, and the screen is 2K. However I found something that I thought could be a good fit (especially if I manage to find some way of getting the LattePanda to play ball) - a cheap 4K-capable HDMI KVM box. A quick test with the Raspberry Pi showed it was genuine, and not just a fancifully labelled 1080p device.
Having the ability to switch to another device will open up the possibility of using Samsung DeX on my phone, or a keyboard and mouse with the Xbox for the games that support it.
Other bits
I want to make this thing interesting and personal (obviously) and part of that will be the buttons and switches for controlling features. The first thing I've tried is swapping the power button and LEDs for the screen control board for a (somewhat hacked up) illuminated button from my collection. Originally it had an incandescent bulb inside it, so it needed a small cut-out to be able to get the three required wires out, but it came out great.
This button was part of the studio production gallery at HTV Wales, built in the early 80s and thrown in a skip in 2008. Fortunately it was pulled out of the skip by yours truly about half an hour later, together with a bunch of other interesting looking things. (For a while I had an Autocue machine lurking under my desk but it was too big for me to keep hold of. I just like mentioning that - having an office in an almost completely defunct television centre was the absolute best!)

3D Printer things
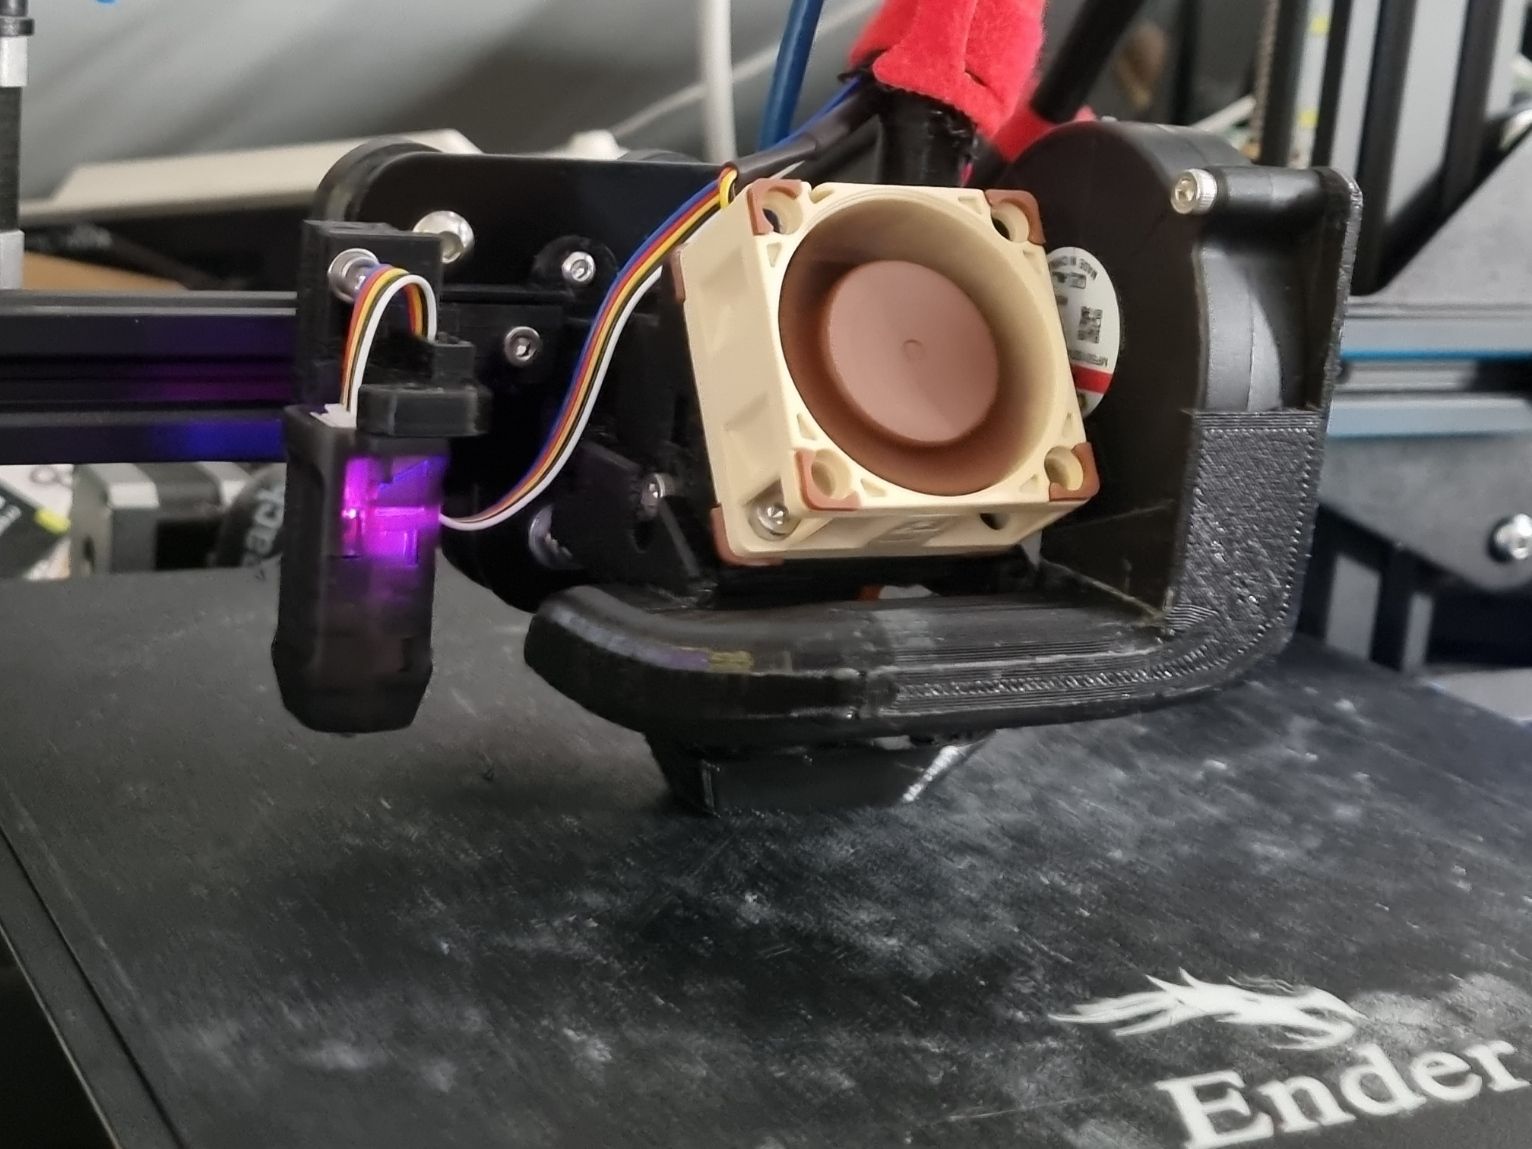
I've got the Hero Me Gen5 installed now and it's making nicer PETG prints as a result of the bigger fan and improved airflow. However, I buggered up refitting the hot end and managed to clog the whole thing with a plug of baked plastic, and ended up having to buy a new one... fortunately these things are a commodity nowadays so it wasn't an expensive cock-up.
And finally
New toys! I've got myself a new Windows laptop, a very nice Lenovo ThinkPad Yoga X1, thanks to work, and I managed to finally get an Xbox Series X after a good year or so of trying. Such fun!