Cyberdeck 5: Stop Calling It Cyberdeck

Bit late with this update. Soz. Nobody is reading this though so I'm not too worried.
Little updates, steps forward, steps backward, steps sideways... it's like one of those old timey charts for ballroom dancing like you'd see in a Bugs Bunny cartoon. That said, January brought progress.
Working(ish) Keyboard
The code I wrote for the PS2 keyboard functionality kinda works! See this little video over on the Instagrams for a demonstration.
Since recording this I've tweaked the debouncing code so that it's a bit less cautious (so that typing 'skill' is possible) and have been wanting to get to the USB keyboard interface but not getting around to it. I've worked out how I want it to function but have had too many other things taking my attention to start...
Painted finish
I'd wanted to avoid painting the end result and disguising the joins between the parts with ridges like you'd get on a 1980s home computer would work, but there's no getting away from the fact that there's going to be obvious imperfections somewhere. Even at the finest layer height, there's going to be stepping visible on angled faces. After a bit of searching for an answer, I discovered a possible solution in the weirdest place - truck bed liner paint.
I hadn't even heard of this stuff a month ago, but this is special, thick, textured black paint that is designed for inside the cargo area of pick-up trucks. After some filler and sanding of the printed parts a couple of layers of this will cover all traces of layer lines and joins.
Inspiration
To add to my mood wall (or whatever they call it) is the Tandy 200 computer from 1983. With the threaded rods providing the physical strength I've also got something I can use with bearings to make a hinge from... the only thing holding me back is the massive lack of talent in designing the actual thing!
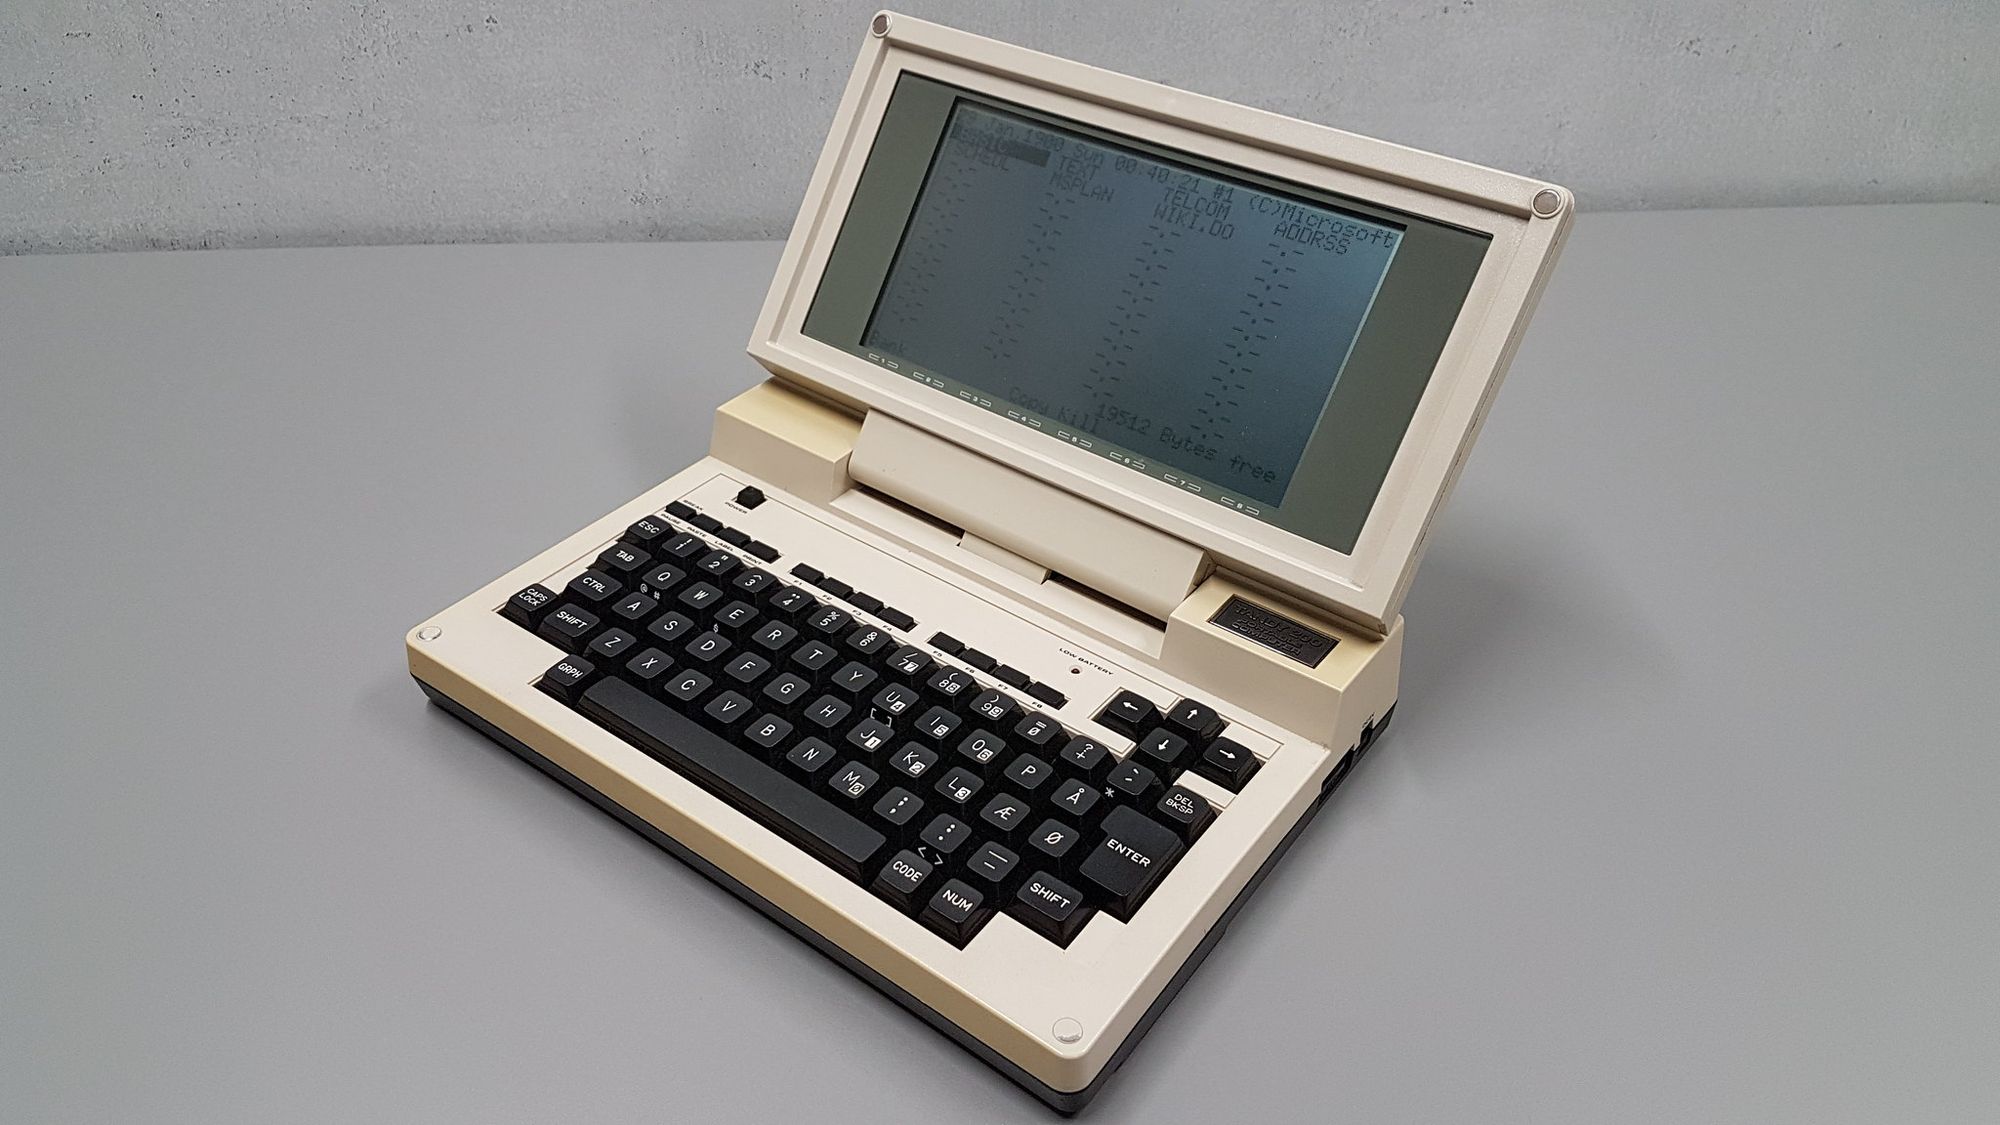
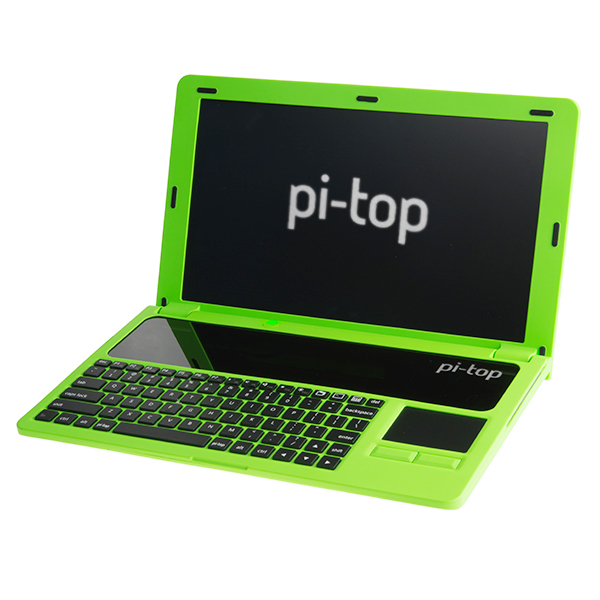
What I really like about this is that the cursor keys are moved above the keyboard - makes me think I could do the same with the trackpad so that it doesn't get excessively wide - my most recent design had it next to the keyboard, like the donor Pi-Top that it came from, but it's just too huge when you're placing it next to a full-sized mechanical keyboard!
Trackpad vs Trackball
The trackpad won. The trackball mentioned before is nice enough but there's one thing missing that I really need for this - there's no way of scrolling! The trackpad gives me two finger scrolling horizontally and vertically and pinch-to-zoom, which I think are essential on a small, hi-res screen.
Disaster!
A landslide of gubbins in the attic saw my bits for the build crash to the floor. Everything survived, except for the ZX Uno, which landed on the edge where my hardwired VGA lead was attached, and the pad for the blue channel got ripped off in the process.
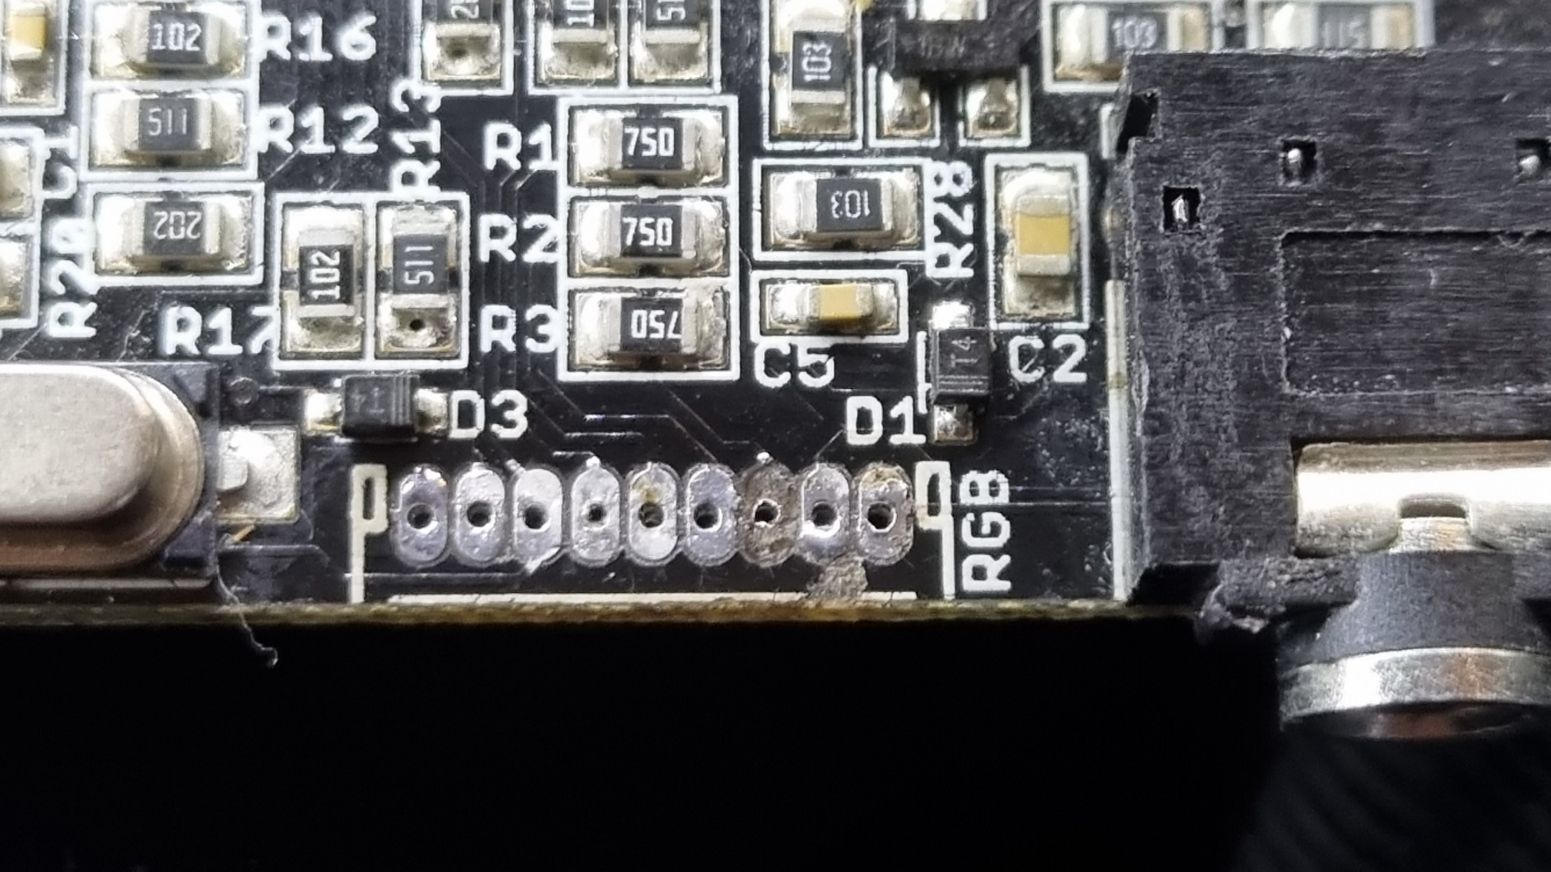
Fortunately, this is an open source device so I had access to both the schematic and board design, so I worked out that connecting to the left side of R3 would give me the signal I needed and hooked up to that. In doing this repair though, I accidentally shorted the red and green channels and this gave things a mucky hue (not unlike a C64 has on a good day).
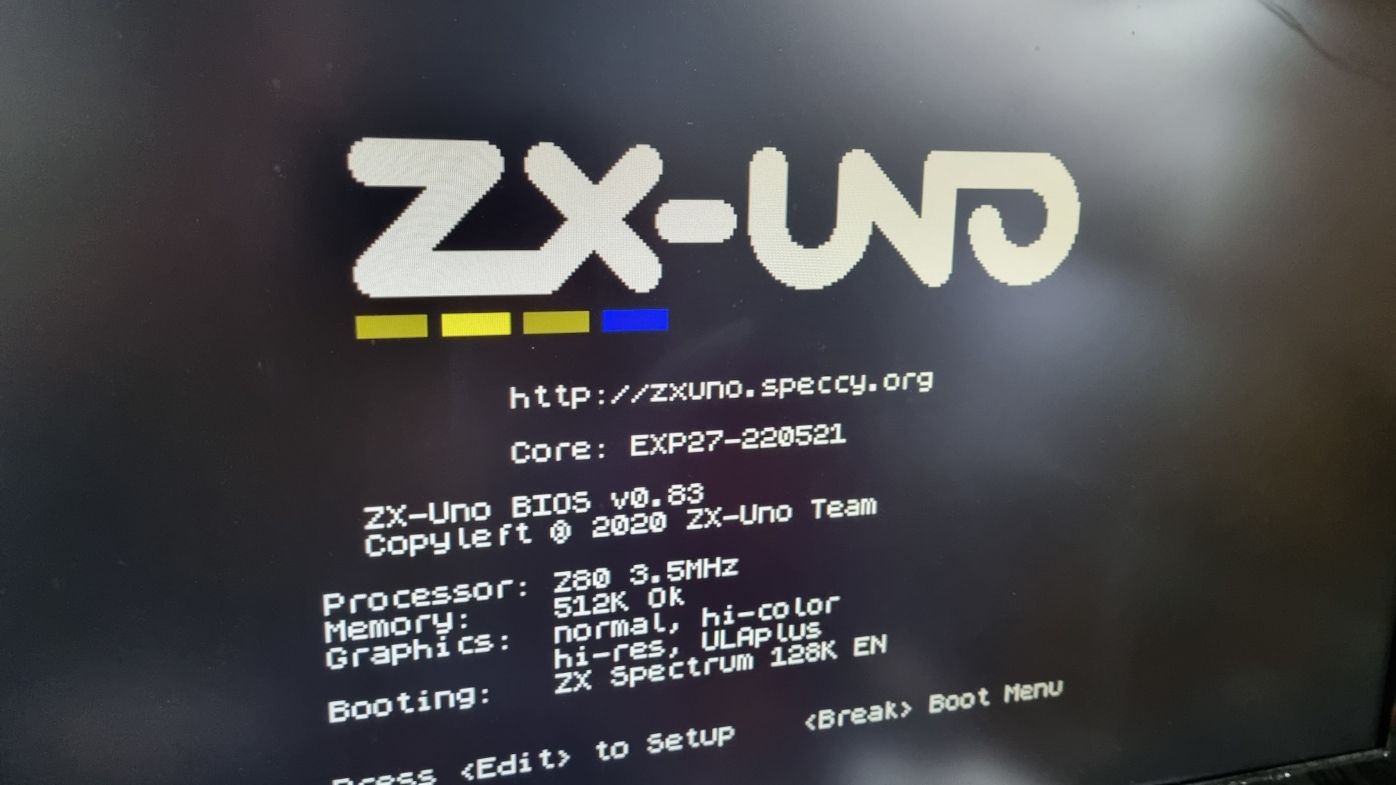
Anyway - that's sorted now.
What else?
Well, I've started laying out the parts on an A4 piece of 3mm plywood, and I might well use this in the end product - especially now that I'm looking at the paint options. It's perfectly flat and easy to work with so it's worthy of consideration, I figure.
And that will do for this fortnight's update, or month's update, or whatever. Pip pip!