Cyberdeck Report II
A post where Steve is continuing to do daft things for a pointless project that he's enjoying.

It's been a couple of weeks since the last log, so here's an update (primarily about the keyboard as that's a crucial early part to get right).
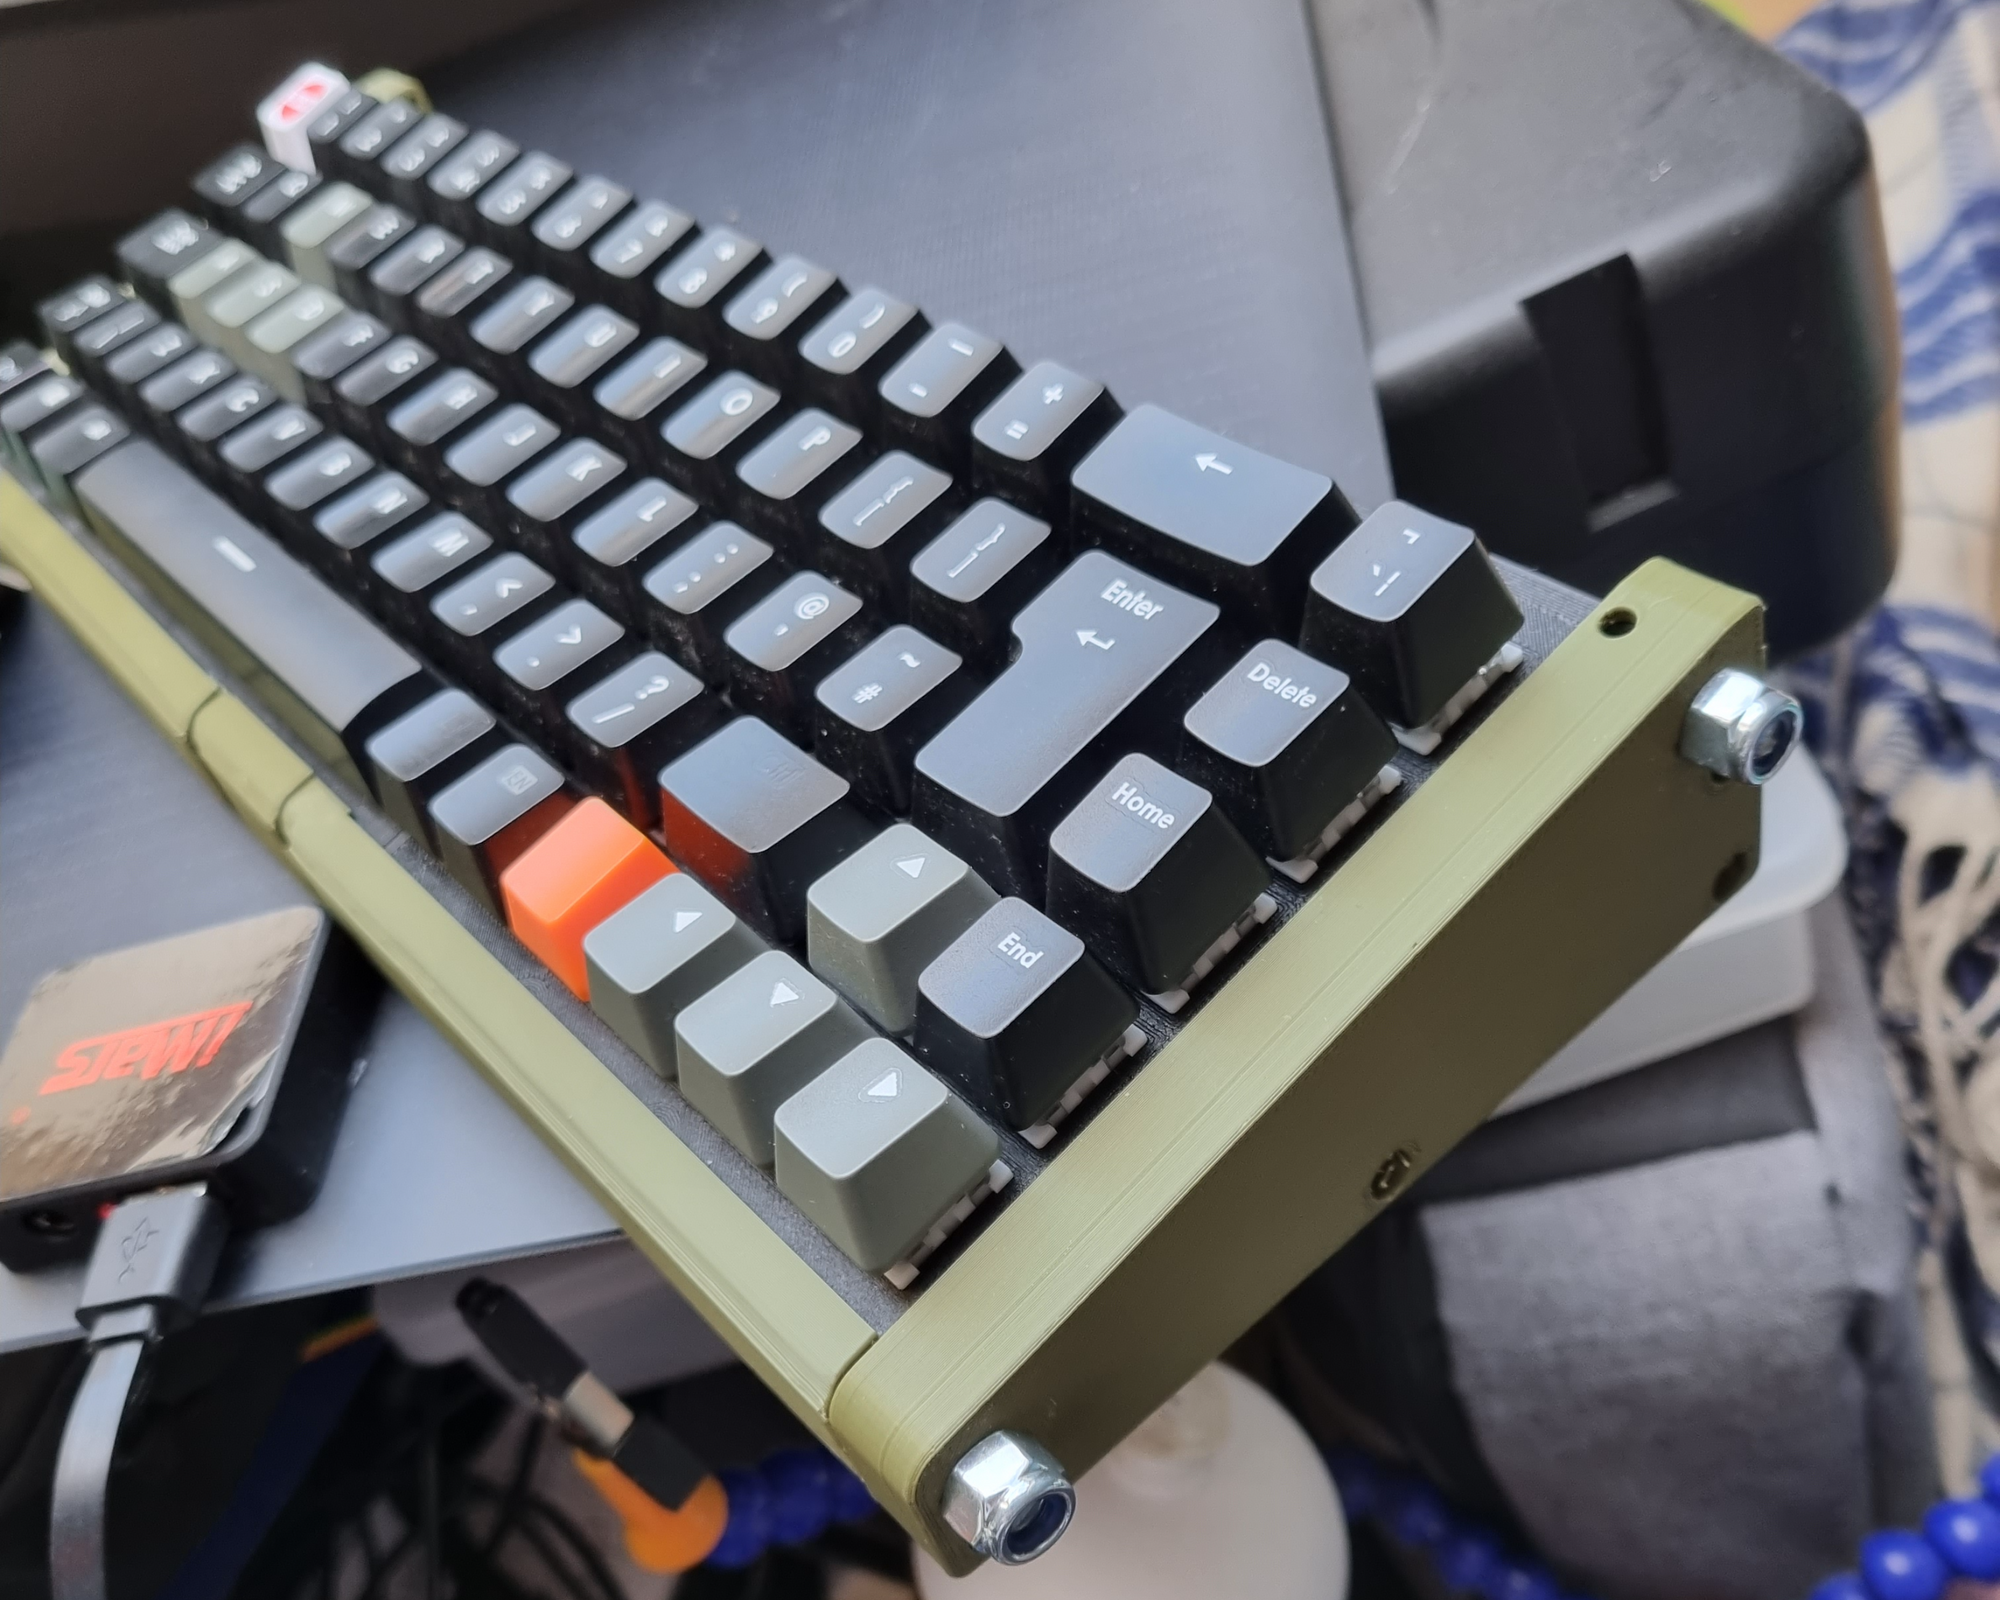
As planned I've got threaded rods and locknuts acting as a clamp and structural brace. It works well! For the final design I might look at getting the nuts inset slightly but otherwise it's how I'll be providing the general rigidity throughout the whole device.
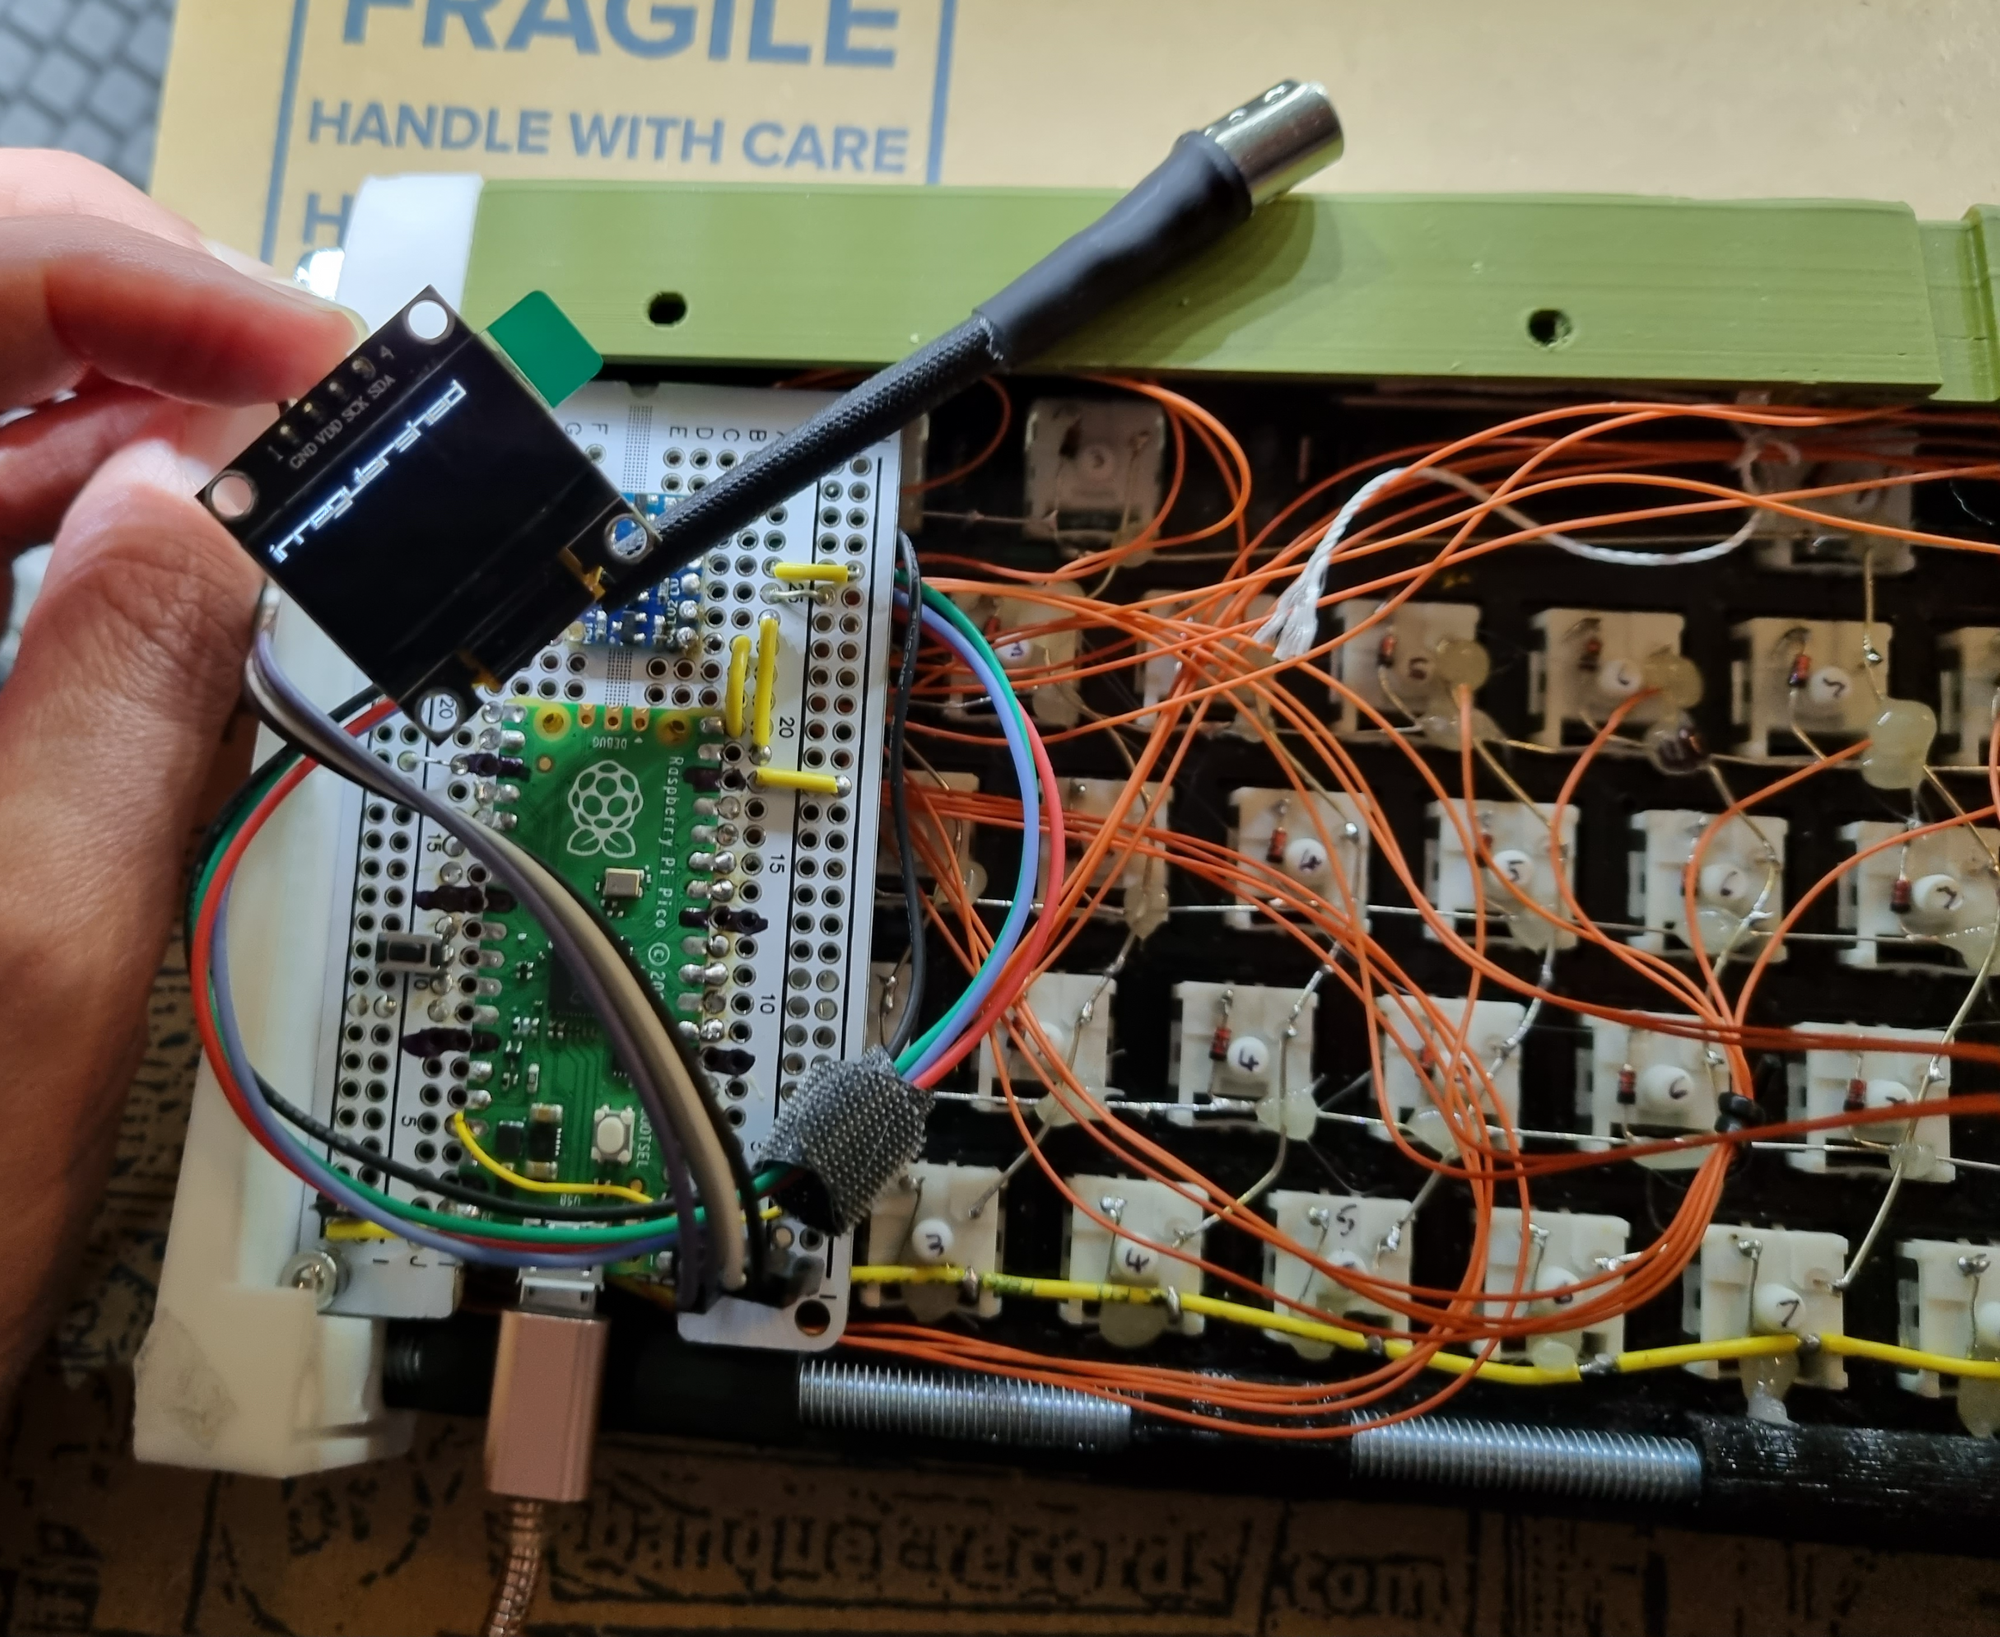
I've got the keyboard matrix wired up (literally) which took a lot of soldering and more debugging than I would've like but it's all hooked up to the Raspberry Pi Pico on this board. Also on the board is a level shifter to handle the 5V that a PS/2 interface requires from the 3.3V logic of the Pico. At the top of the picture is the PS/2 connector I made - I pulled apart an old USB-to-PS/2-mouse adaptor to get the plug, added hot glue for strain relief and some protective tube from a fan lead, then put on the heat shrink tubing and applied heat. The tube shrinks and the hot glue melts again, and the two actions together make a nice tight, slimline connector housing. #protip
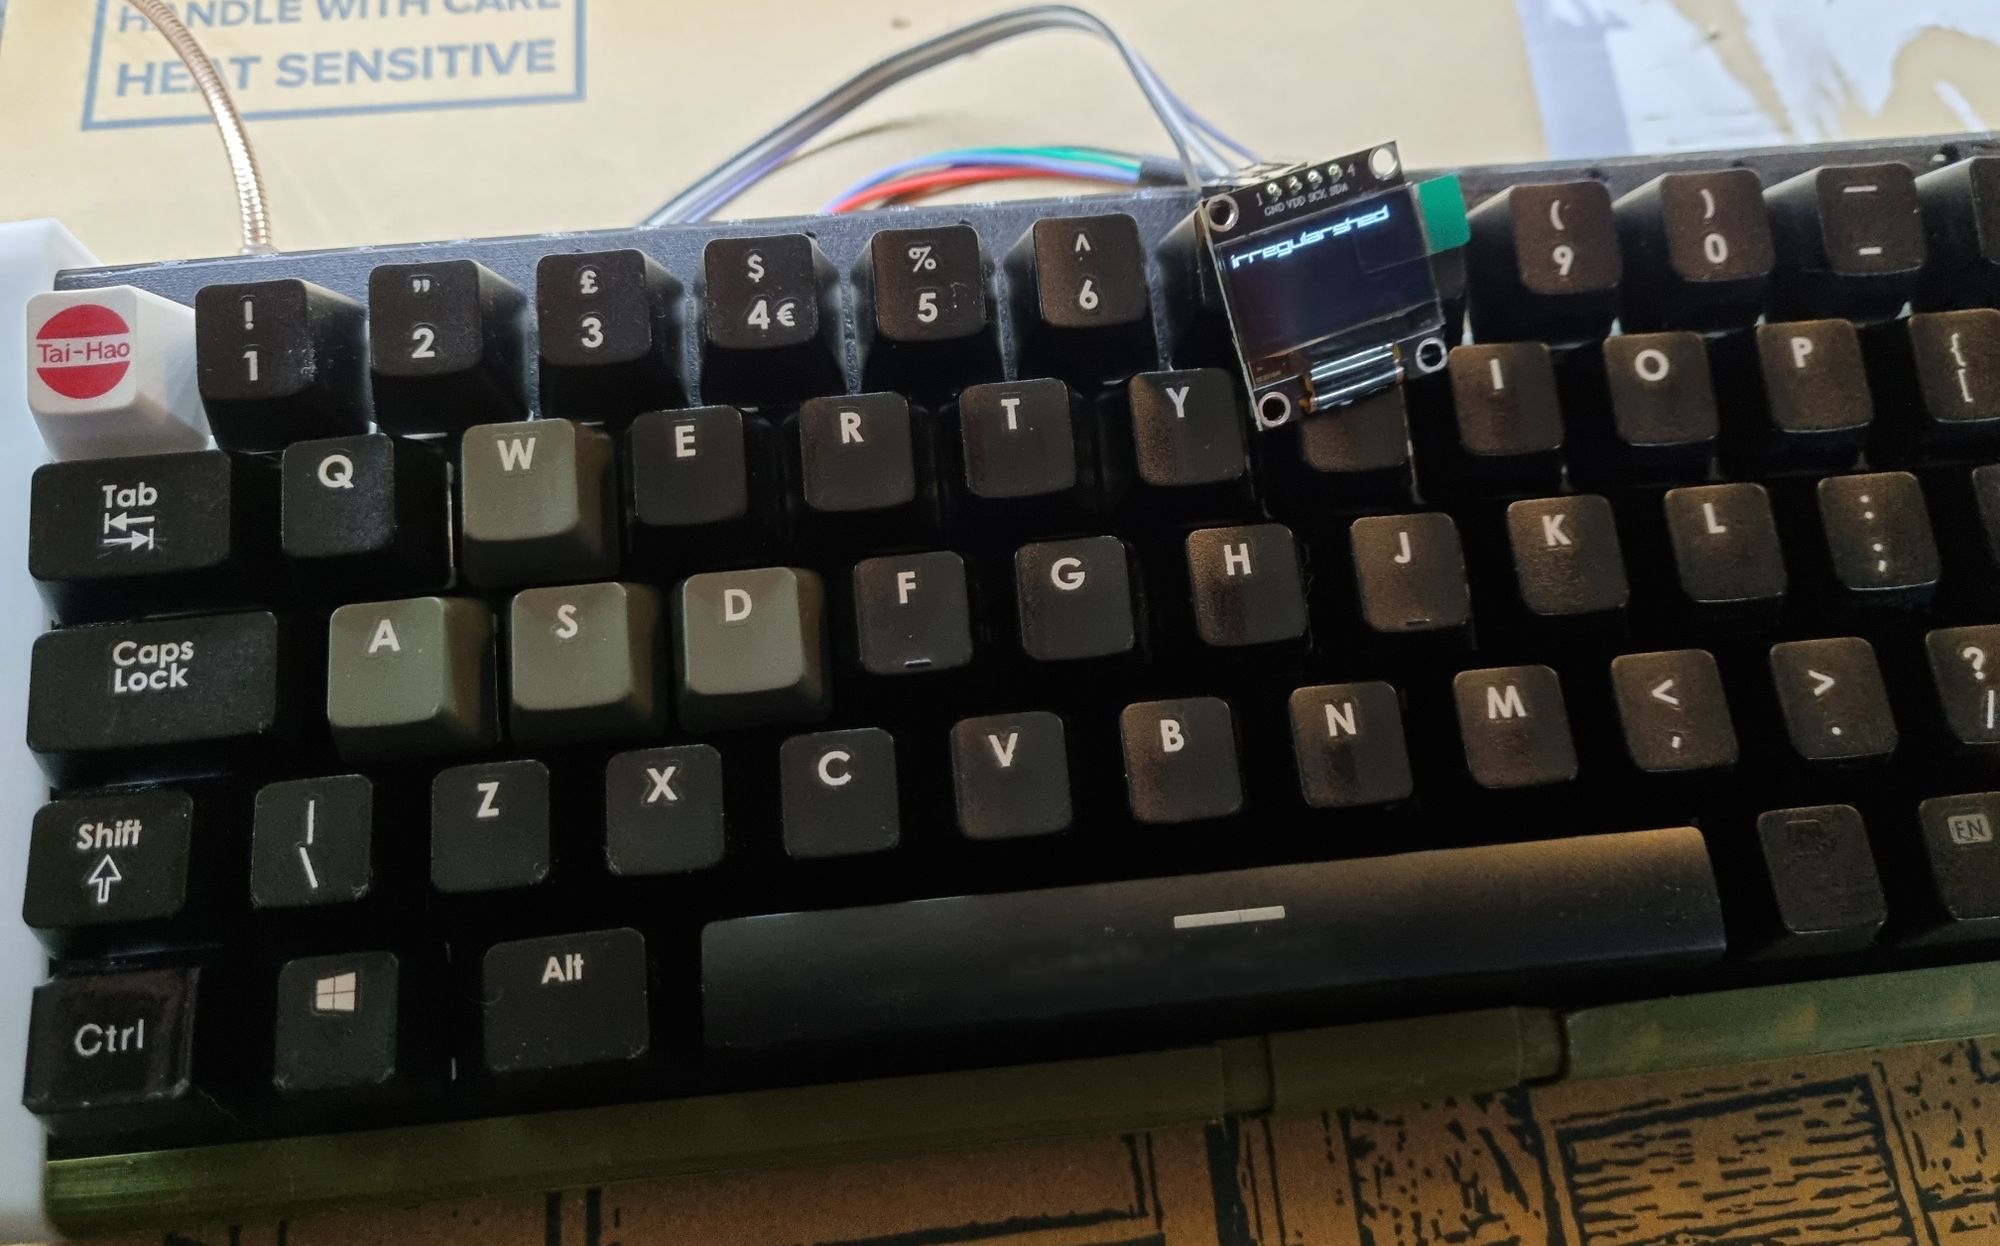
Every usable pin bar one is being used for the keyboard - I've got 21(!) lines for reading the keys, two for the PS/2 output and two for an OLED display, as you can see here. I decided that, rather than have status LEDs for Caps Lock and the like, I'd have an actual display that can do much more - like show whether in USB or PS/2 mode, show what keys you get with FN being held down, general debugging and (my personal favourite) an absolutely pointless keymap display, so you can see what commands are on a key in 48K mode on a Spectrum. There's no need for it really, but it'll be cooooool.
The Pico is a great board. Not perfect - the mad quantity of Gnd pins got in the way when I was probing during my physical debugging, and I ended up shorting it out a couple of times (it took it on the chin though). The fact you can get them shipped to your door the following day from RS Components for about £3.60 (all in) is just brilliant value though. There's something quite perverse about using a 32 bit, dual core processor with a wodge of RAM to make a keyboard for an 8 bit computer, but I don't care!
Programming is being done in Arduino using the community-driven core, courtesy of the superbly monikered Earle F. Philhower, III whose efforts brought Arduino support to the RP2040 chip before the official release, which has a fancy RTOS that I don't really want getting in the way of timings for the various things I need to do. At the moment I've just got some debug code running on it to make sure all the keys are functioning correctly, but in the pipeline is debouncing switches, sending the debug info to the OLED instead of the serial monitor, and - gosh - actually sending things to the PS/2 interface. I've tested that the hardware can do it with the ZX Uno, now I 'just' need to map keys to keycodes. With the dual core setup I can keep one core responsible entirely for scanning and encoding, and the other for the bells and whistles.